
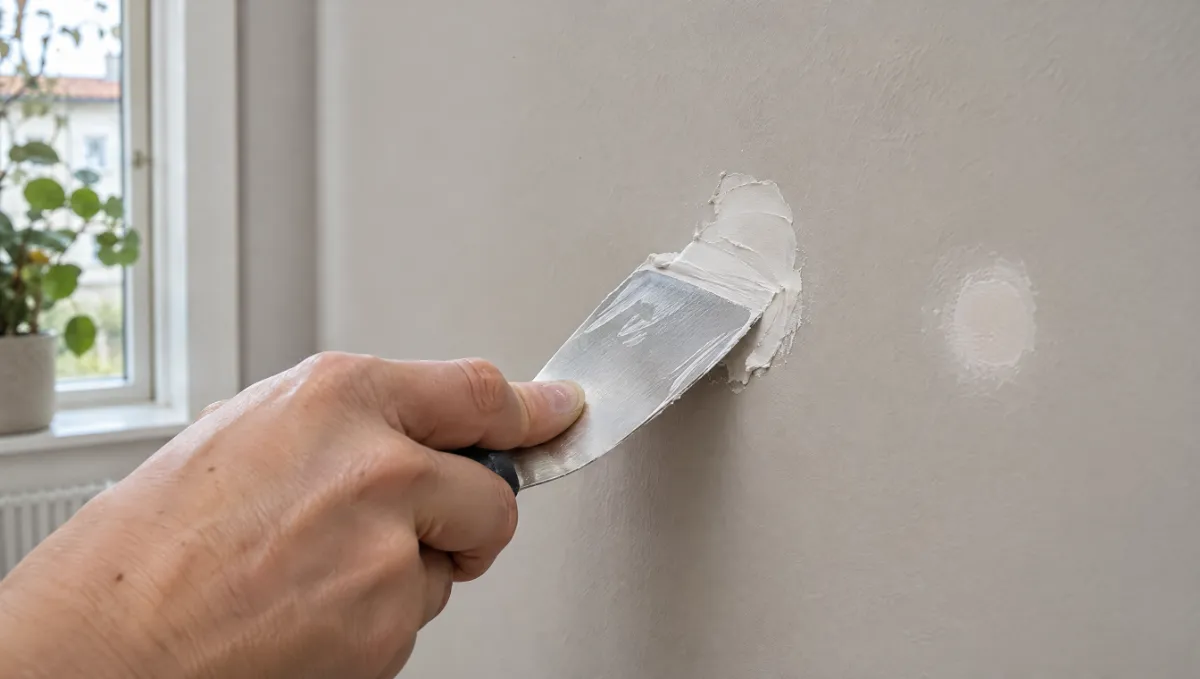
AI-generated image: filling small holes in an interior wall. The image does not show an NLL project.
Filling a wall means filling holes, cracks and unevenness with filler so the surface is even before painting. Minor damage is preferably repaired in two thin coats: each coat is left to dry, the edges are sanded and the sanding dust is removed before the next coat is applied over a wider area.
The product data sheet states how long the filler should dry. This guide covers holes and cracks in ordinary interior walls and ceilings. Joints in new plasterboard, skim coating whole walls and damage that goes through the board have their own requirements.
Spot fill small holes and narrow cracks in a sound wall. Let the filler dry as directed in the product data sheet, then sand the repair flush before painting.
Which damage can you fill yourself?
Nail and screw holes, small dents and narrow cracks in an otherwise sound wall can be repaired by spot filling. Larger unevenness, joints in new boards and damage with an unknown cause need a different method or an assessment first.
| Damage | Suitable method | Next step |
|---|---|---|
| Nail and screw holes, small dents | Spot filling, preferably in two coats | This guide |
| Narrow cracks in paint or filler | Spot filling; recurring cracks are assessed before they are covered | This guide |
| Unevenness across large parts of the wall | Skim coating the whole surface | Skim coating |
| Joints and screw holes in new plasterboard | Joint filling with tape | Filling plasterboard |
| Holes that go through the plasterboard | Repairing the board, not just filling | Assessment before the work |
| Stains or bubbles that may be caused by moisture | Investigation of the cause before filling | Assessment before the work |
Filling over a crack that keeps coming back or a stain that may be caused by moisture does not remove the cause. The Public Health Agency of Sweden’s guidance on moisture and microorganisms explains why the source of moisture needs to be investigated before the surface is treated.
How do you fill a hole in a wall step by step?
Remove anything loose, apply a thin first coat, let it dry and sand the edges, then apply a second coat over a wider area. Narrow cracks in an otherwise sound wall are repaired the same way. Anza describes the method for small holes in its beginner’s guide to filling and in its guide to filling ceilings.
- Prepare the surface. Remove nails, screws and loose wallpaper, and wipe dust off the surface.
- Apply a thin first coat. Draw the filling knife over the repair so the surface is even, and let the coat dry completely.
- Sand the edges and remove the dust. Sand with gentle movements and remove the sanding dust with a microfibre cloth or brush.
- Apply a wider second coat. A wider area gives a smoother transition into the wall. Repeat for large holes or unevenness.
- Sand, dust off and check. Inspect the surface in side lighting before the wall is primed or painted.
Is one coat of filler enough?
Filler shrinks slightly as it dries, so it is a good idea to top up the hole with a second coat. Nyhems Färghus recommends filling twice for that reason in its advice on painting ceilings, and Anza writes that you fill once more if the holes and unevenness are large.
How long should filler dry?
Filler should dry for as long as the product data sheet states before you sand and paint. As an example, Jotun states that Jotun Spackel Medium Plus can be painted over after 24 hours on previously painted surfaces.
Drying time is affected by coat thickness, temperature and humidity, as Beckers writes in the product information for Spackel Fin. According to Bauhaus’s product description of Jotun Spackel Medium, it can be applied in coats of up to 4 mm, for best results the room and the surface should be at least 10 °C, and good ventilation shortens the drying time. For plasterboard joints in ceilings, Anza recommends letting the filler dry overnight between coats.
Can you paint directly on filler?
Paint only when the filler is dry and ready to paint over according to the product data sheet, sanded and free of dust. Whether the wall needs priming is decided by the paint system’s instructions for filled surfaces. The guide on priming a filled wall covers that question.
How do you sand so the repair does not show?
Sand when the filler is completely dry, with gentle movements towards the edges, and wipe off all sanding dust before the next coat or the painting. Anza points out that you should not sand away too much and that the dust is wiped off with a microfibre cloth between coats. Nyhems Färghus mentions sandpaper with a grit of 120–180 for repairs in ceilings.
Then check the surface in side lighting. If the edge still shows, the repair needs a wider coat, not more paint. Follow the product’s safety instructions when sanding; the safety information for Jotun Spackel Medium at Bauhaus specifies respiratory protection where needed.
When should you hire a painter for the filling?
Hire a painter when many walls need repairing, when the surface must be completely smooth before painting or when you are unsure about the surface. NLL Måleri offers filling and smoothing of walls and ceilings in north-west Skåne, both separately and together with painting.
Labour for filling without painting costs 250–375 SEK per m² including VAT, before any applicable ROT deduction. Filling and painting together cost 562.50 SEK per m² for labour, including VAT. Both labour prices are before any applicable ROT deduction. Materials are extra in both cases. See filling prices or the worked example of what it costs to fill and paint a room.
NLL also offers plasterboard replacement and installation, including supporting framing, as separately quoted work. Moisture remediation is not included. Describe the damage so board work and subsequent filling can be scoped separately. Request a quote with an overview photo of the wall and close-ups of the damage.
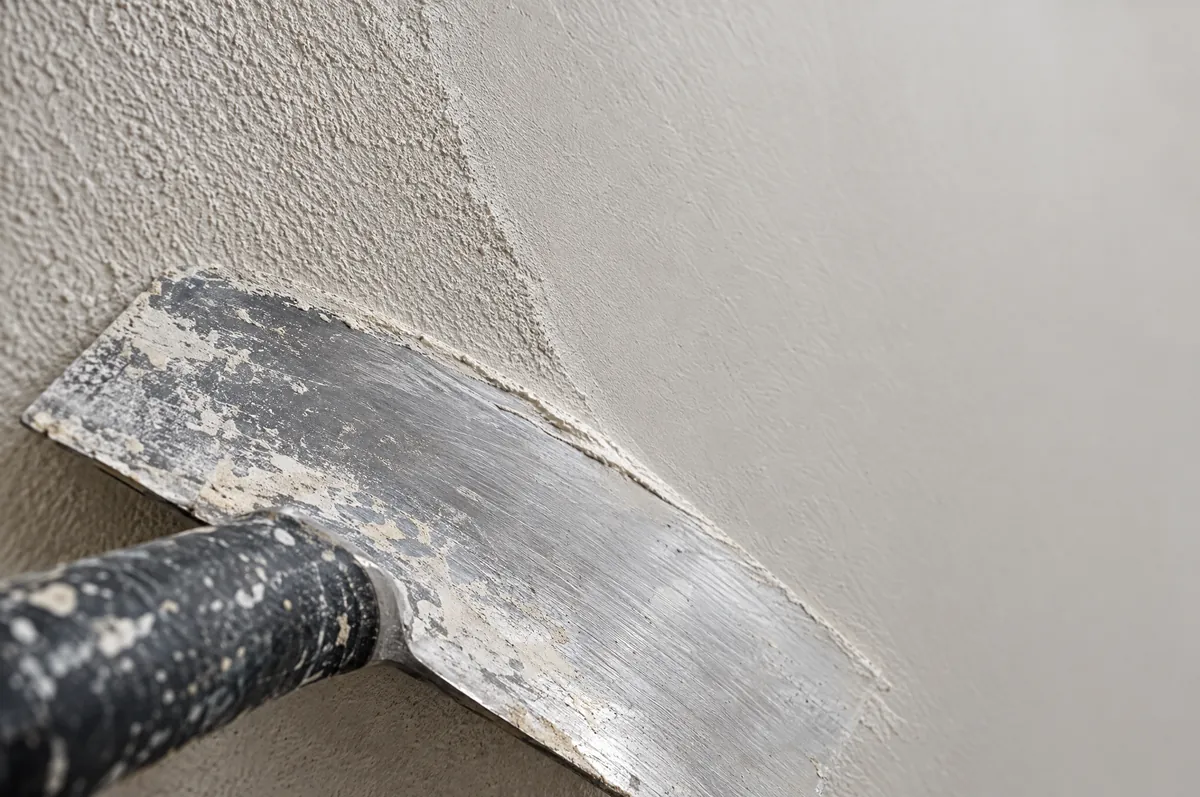
Skim coating: how to achieve a smooth wall before painting
Plan skim coating, sanding and painting. Read about wallpaper adhesion, choosing filler and labour costs.
Skim coating: how to achieve a smooth wall before painting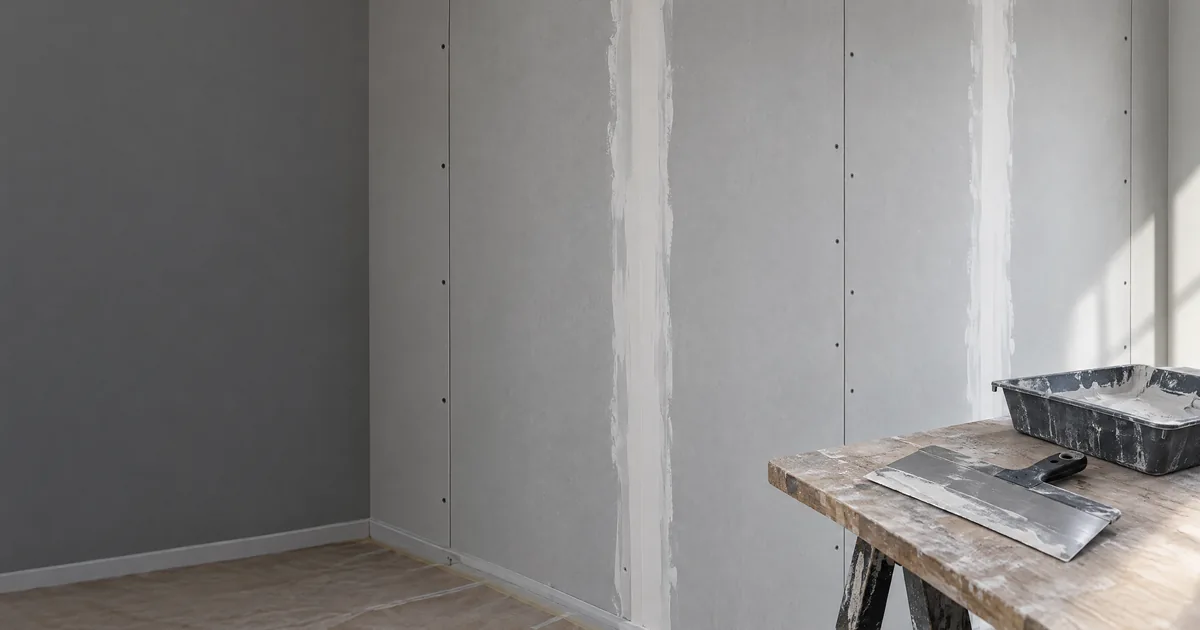
Filling plasterboard: joints, screw holes and preparation before painting
Understand joint filling versus skim coating. Check plasterboard, choose compatible materials and plan the surface before painting.
Filling plasterboard: joints, screw holes and preparation before painting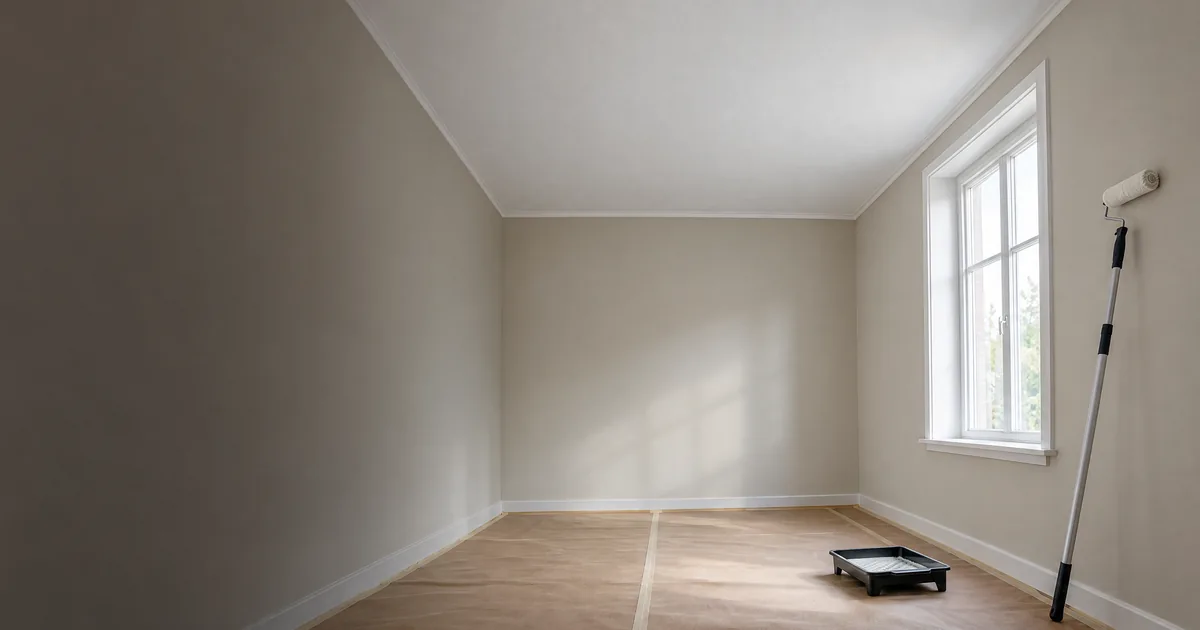
Painting ceilings: preparation and an even finish
Plan ceiling painting: check old paint, prepare the surface and choose the working sequence. Advice on drying time, streaks and professional help.
Painting ceilings: preparation and an even finish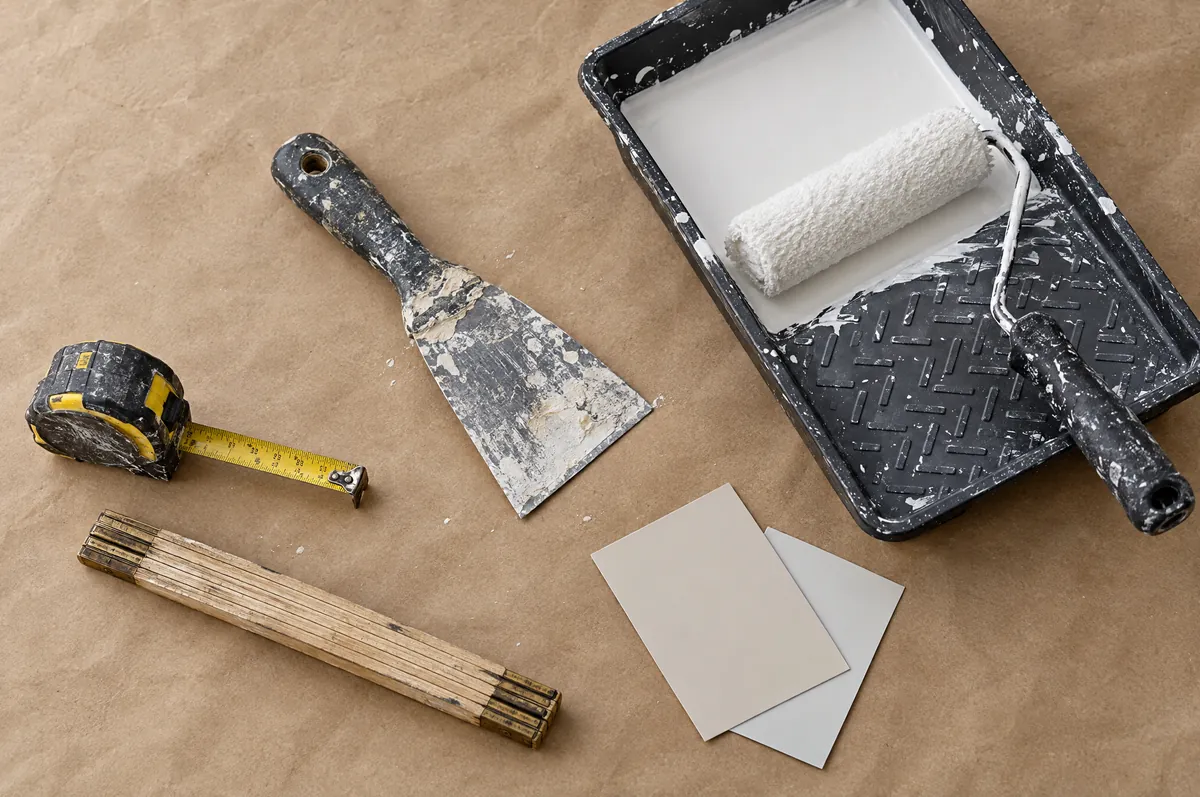
How much does filling and painting a room cost? Skåne 2026
NLL’s filling and painting labour costs 562.50 SEK/m² including VAT. See worked examples, materials costs and ROT conditions before requesting a quote.
How much does filling and painting a room cost? Skåne 2026