NLL Guides · INTERIORS
Filling plasterboard: joints, screw holes and preparation before painting
Published
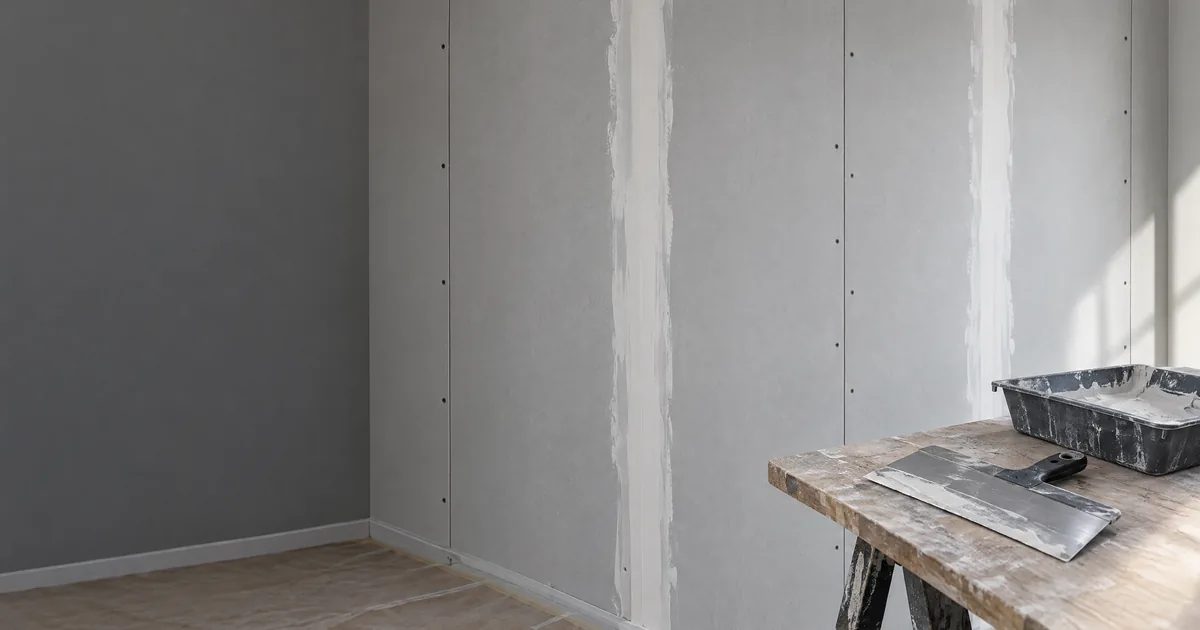
Illustration of installed plasterboard and filling tools.
Fill a plasterboard wall by checking the installed boards first, then treating joints, screw holes and corners with compatible products. Let each treatment dry as instructed before continuing. Joint filling and skim coating serve different purposes and may both be needed on the same wall.
This guide covers finishing already installed plasterboard in dry rooms. It is not a board installation guide or instructions for wet rooms or moisture remediation.
What is the difference between joint filling and skim coating?
Joint filling treats the joins between boards. Skim coating smooths a larger continuous wall area. Do not omit joint treatment simply because the whole wall will later receive a thin coat of filler.
| Part of the wall | What the treatment should achieve |
|---|---|
| Joint between boards | Reinforce and smooth the transition according to the board and filler system |
| Screw hole | Fill the local recess over a correctly positioned screw |
| Larger wall area | Smooth texture or minor unevenness by skim coating |
Joints and main wall areas have different requirements
Gyproc’s installation handbook, filling section distinguishes edge profiles and describes treatments combining joint filling with skim coating. It is therefore not always a choice between two alternatives.
For the whole wall surface, see a guide to skim coating. Here, the focus is on board joints and details.
What should you check on installed plasterboard?
Check that boards and their edges are intact and the installation is ready for finishing. Do not use filler to conceal an unresolved installation problem.
In its plasterboard wall guide Anza discusses loose gypsum, screw heads and joints needing preparation. Check the wall before choosing the sequence:
- What board type and edge profile does the wall have?
- Is there damage, loose material or protruding screws?
- Which joints have tapered edges and which have cut edges?
- Are there internal corners, external corners or junctions with other materials?
- Are previously treated joints being repaired?
Uncertain installation or damaged boards need assessing first. Do not assume new installation, board replacement or remediation is included in a filling order.
How do you choose filler and joint tape?
Choose filler intended for the particular joint treatment and tape belonging to a compatible system. Not every filler for a smooth finish is suitable for embedding tape.
For example, Dalapro states that Scanspac Joint Tape must be combined with filler approved for embedding paper tape. This illustrates why tape and filler need choosing together. It does not identify the brands NLL uses.
Check product information for intended use, coat thickness, tape and drying conditions. Note which product should fill any deeper recesses and which should provide the final surface. Do not combine steps from different systems without checking that the combination is intended.
How do you treat joints, screw holes and corners?
Follow the sequence for each detail. A tapered joint, cut edge and external corner have different shapes and may need different treatment.
Tapered and cut-edge joints
A tapered edge provides room for filler and tape. A square or cut edge lacks that space, as Gyproc explains in its section on edge profiles.
For a tapered joint, Dalapro describes this sequence for its paper tape:
- Fill the recess with suitable filler.
- Embed the tape in the wet filler and press it firmly into place.
- Cover the tape with a thin coat.
- Let it dry before further filling and final sanding.
The full Joint Tape product instructions specify the method. Do not automatically transfer it to a cut-edge joint; also check the board manufacturer’s edge instructions.
Subsequent coats smooth the transition into the board surface. Gyproc describes widening the treatment in later stages. Width and number of coats must follow the chosen instructions and desired finish.
Screw hole
The screw must be correctly positioned before filling its recess. Anza’s instructions also cover filling screw heads and small holes. Let the repair dry and check whether it needs topping up before finishing the wall.
If a screw protrudes or the surrounding area is damaged, resolve the installation rather than merely covering the problem with more filler.
Internal and external corners
In its corner instructions Norgips distinguishes folded tape in internal corners from reinforcement of external corners with suitable corner protection. Junctions with other materials have their own requirements.
Choose the detail solution before filling. A product for a flat joint does not automatically protect an exposed external corner. Follow the instructions for the selected corner product.
When can you sand and prepare for painting?
Sand once the filler has dried according to its instructions. Assess each treatment separately and remove sanding dust before the next step.
Anza’s plasterboard guide describes repeated filling because the material can shrink as it dries, followed by sanding and dust removal. Applying one coat is therefore not proof that the wall is finished.
Check working-environment and protective instructions for sanding. For painting, choose a primer and paint suitable for the finished surface. Neither this guide nor a photograph can determine one drying schedule for every product.
What should you do if a joint shows or cracks?
Establish whether the issue concerns surface evenness or the joint treatment itself before adding more filler. A visible transition and a crack are different observations.
Describe the defect’s location, whether the wall is new or previously treated, and the products used. Photograph both the whole wall and detail to show context. Request an assessment if the cause is unclear; extra layers are not a reliable solution to an installation fault.
NLL Måleri offers filling and smoothing before painting in north-west Skåne. State whether the work concerns joints and repairs, the whole wall surface or also interior painting, so the scope is clear.
The cost calculator provides an initial estimate for the selected work. An area-based example does not replace assessment of joint numbers, corners and damage. Request a quote for surface preparation when you want your particular wall assessed.