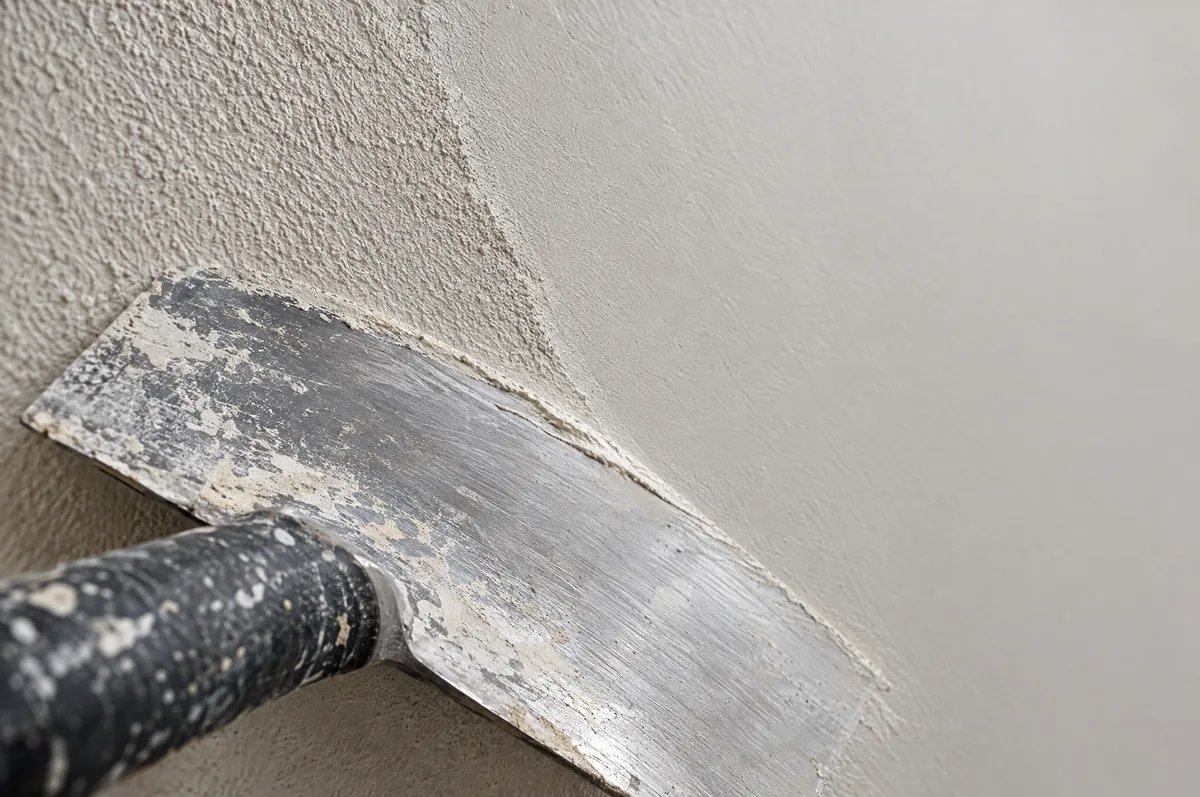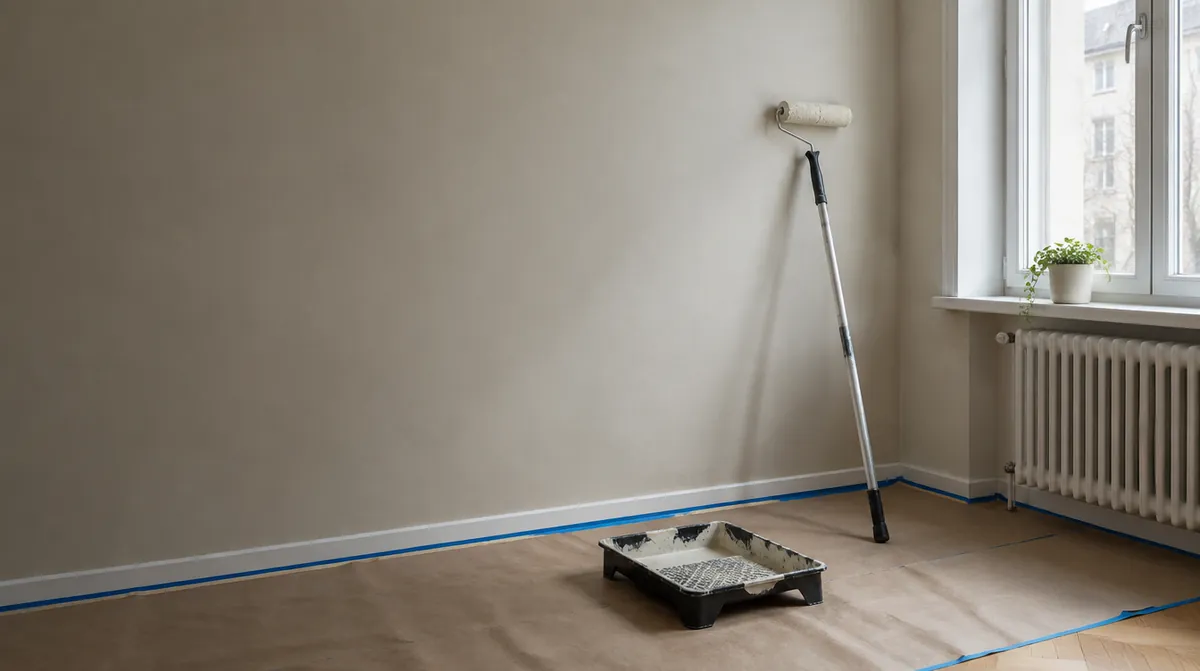
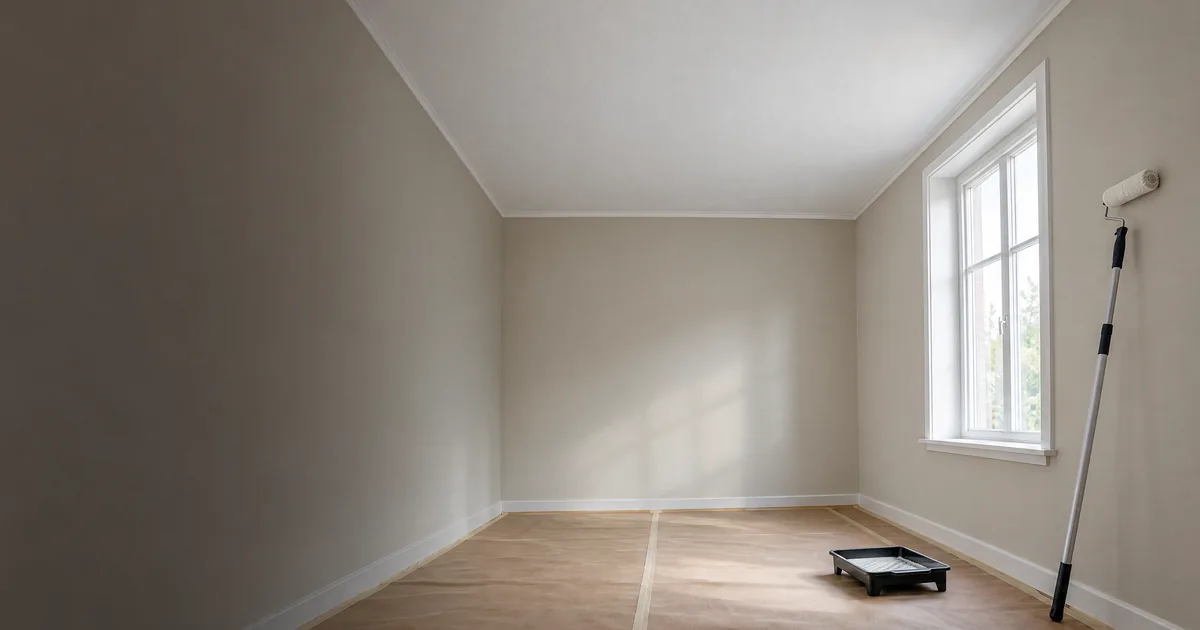
Illustration of preparations for painting a ceiling.
Paint a ceiling by checking the existing surface first, preparing it and then working continuously with a brush and roller. Choose the treatment to suit the ceiling material and existing paint. If you are also painting the walls, it makes sense to start with the ceiling.
This guide covers ordinary ceilings in dry rooms. Timber-panelled ceilings, wet rooms and damaged structures need an assessment specific to that surface. Painting the roof of a house is a different job.
What should you check on the ceiling?
Find out what the ceiling is made of and how it has previously been treated. Loose paint, damage and unknown finishes need investigating before you choose cleaning methods and a paint system.
Use these questions to help you plan:
| What you need to know | Question to resolve before painting |
|---|---|
| Ceiling material | Is the surface render, plasterboard or timber panelling, for example? |
| Existing treatment | Do you know what type of paint is on the ceiling? |
| Surface condition | Is the paint sound, and are there holes, cracks or discolouration? |
| Room conditions | How will you reach the surface and protect what is underneath? |
| Scope of work | Is it just the ceiling, or also the walls and trim? |
This table is a checklist of questions, not a way to identify paint or damage from a photograph. Explain any uncertainties when asking a paint supplier or painter for advice.
How do you protect the room and plan the work?
Clear the working area and protect floors, furniture and any walls you are keeping as they are. Arrange access to the whole ceiling before opening the paint tin.
In its ceiling painting guide Anza recommends covering floors and other surfaces and using an extension pole. Also plan where to put tools and paint so they do not need moving halfway through.
Have a brush for edges, a suitable roller, a pole and preparation equipment ready. Follow the tools’ instructions. Assess ceiling height and access before deciding which tasks you can do yourself.
If you are painting as part of a move, plan access and furniture placement too. This is covered separately in the guide to painting before moving in.
How do you prepare the surface?
Cleaning, repairs and any priming must suit the existing ceiling surface. Do not assume the same treatment works on every old ceiling.
Previously painted ceilings
In its advice on checking ceilings Alcro distinguishes between water-soluble distemper and lime paint that can rub off. These require different preparation. Ask for help identifying an unfamiliar finish; do not start washing or painting the whole ceiling on guesswork.
Before repainting a surface, deal with loose layers and make repairs. Let the filler dry, smooth the repairs and remove sanding dust as directed for the products. Priming then depends on the chosen system.
Stains and damage
Discolouration alone does not identify its cause. If you suspect moisture damage, investigate the cause before treating the surface. The Public Health Agency of Sweden’s guidance on moisture and microorganisms explains the need to investigate the source of moisture.
Painting over a stain does not investigate or resolve the cause of ongoing moisture damage. This guide does not cover moisture remediation.
How do you paint a ceiling step by step?
Prepare the edges, then roller a continuous area of ceiling as directed for the paint. Allow drying time before any further coat.
Edges and larger areas
Start where the roller cannot reach, such as corners and any trim included in the work. Continue across the ceiling with the roller. Anza describes working from the light source into the room and painting continuously to avoid visible overlaps. Also follow the instructions for the particular paint system.
Plan the sequence in advance. A room with sloping ceilings, several levels or obstacles needs dividing according to its layout; a simple diagram of a flat ceiling does not provide complete instructions for such rooms.
Paint choice, coats and drying time
Check the product’s intended use, priming requirements, coverage and recoating time. For example, Beckers specifies different preparation for painted and unpainted surfaces in the instructions for Living Takfärg 02. This product illustrates why the surface determines the instructions; it does not identify the paint NLL uses.
Touch-dry and ready to recoat mean different things. Wait the specified time before the next treatment and check which temperature and humidity conditions that time assumes. The number of coats must also follow the product instructions and suit the actual surface.
How do you assess streaks, patchiness and visible repairs?
Check the dry surface and distinguish colour differences, roller texture and unevenness in the surface beneath. More paint is not automatically the right answer to every visible overlap.
Look at the result in daylight and the room’s normal lighting. Note where differences appear and whether they follow a repair, joint or direction of application. This provides a better basis for advice than simply describing the ceiling as patchy.
In the care instructions for Living Takfärg Beckers warns of differences in texture, colour and sheen when touching up. This advice concerns that specific product. Check how your particular paint should be touched up before painting over an isolated area.
Should ceilings and walls be painted together?
Normally start with the ceiling when painting both ceilings and walls. This keeps ceiling paint splashes off finished walls, as Alcro also explains in its recommended working sequence.
Working sequence when painting both ceilings and walls
Still define the scope for each surface. Do not assume ceilings, walls, trim and doors are included in the same order. Describe damage and unknown paint too, so the preparation can be assessed.
NLL Måleri carries out wall and ceiling painting in north-west Skåne. Ceiling painting costs fall under interior painting prices, not the price for painting an exterior roof.
Use the price calculator for an initial estimate and keep ceiling area separate from wall area. Request a quote for your ceiling when you want the actual surface and scope of work assessed.