NLL Guides · INTERIORS
Painting interior walls: preparation and painting step by step
Published
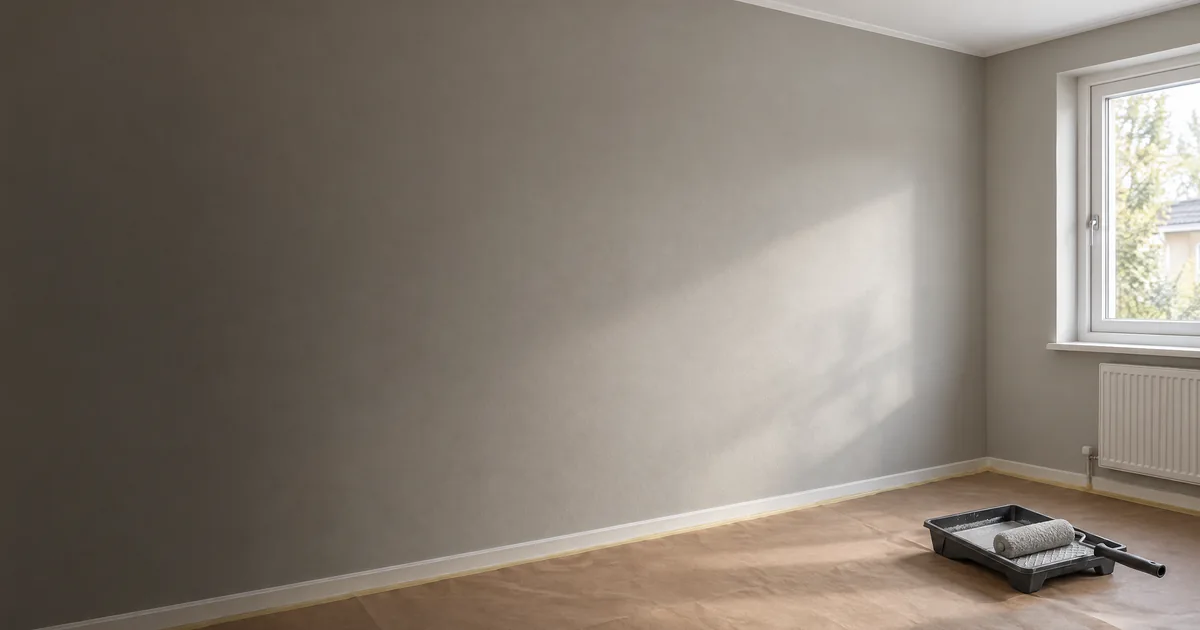
Illustration of wall painting in a dry room.
Paint walls by preparing the surface first, then painting edges and corners before rolling the continuous area. Choose paint and primer to suit the wall. Follow product drying times between stages and check the result before continuing.
This guide covers ordinary interior walls in dry rooms. Timber panelling, wet rooms and damaged surfaces need assessing according to their own requirements.
What should you check before painting?
Check the surface, damage and the result you want. A painted wall, a wallpapered wall and a freshly filled surface are different starting points.
Check the room before buying materials:
- Is the wall painted, wallpapered or untreated?
- Is there loose paint, cracking, holes or areas needing investigation?
- Do you only want to change the colour, or the wall texture too?
- Will the ceiling and trim be painted at the same time?
- What do you need in terms of cleanability and appearance?
Do not choose a standard wall treatment for every surface. In its interior wall advice Flügger specifically identifies timber walls and wet rooms as surfaces with different requirements. If you are unsure what is on the wall, ask a paint supplier or painter to assess it first.
Which tools and materials do you need?
You need tools for protection, preparation, edges and larger areas. Then choose consumables and paint to suit the checked wall.
| Task | Equipment to plan for |
|---|---|
| Protect the room | Protective coverings and masking tape suitable for the surfaces |
| Prepare the wall | Suitable cleaning products, filling tools, sanding tools and dust removal |
| Paint edges | Brush and, if needed, a small roller |
| Paint the main wall area | Roller, frame, tray and extension pole |
| Treat the surface | Primer and wall paint according to the chosen system |
The roller affects the texture of the painted finish. In its guide to choosing a roller Beckers explains that a longer pile generally gives a coarser texture and a shorter pile a finer finish. Do not choose solely by roller width; check the recommendation for the paint and surface too.
Have the product instructions ready before starting. They should let you check cleaning, any priming, coverage, recoating and use of protective equipment.
How do you calculate wall area and paint quantity?
Calculate the wall area, not the room’s floor area. Measure the length and height of each wall and add the areas to be painted. Deduct openings excluded from your material calculation.
Worked example: floor area and wall area
For a rectangular room with a uniform ceiling height, use:
Wall area = 2 × (length + width) × height − openings.
Worked example: a room with 12 m² of floor area
An imaginary room is 4 metres long, 3 metres wide and 2.4 metres high. Its walls total 33.6 m² before deductions. With a combined 3 m² of door and window openings, the area to paint is 30.6 m².
| Calculation | Result |
|---|---|
| Floor area: 4 × 3 | 12 m² |
| Walls: 2 × (4 + 3) × 2.4 | 33.6 m² |
| Walls after deducting 3 m² | 30.6 m² |
| Example with two coats and 8 m²/l: 30.6 × 2 ÷ 8 | 7.65 litres |
Two coats and 8 m² per litre are calculation assumptions, not a product promise or an NLL project. Replace them with the instructions for your chosen paint. The example excludes primer, wastage and extra consumption on the actual surface. Sloping ceilings or walls of different heights need separate measurements.
How do you prepare the wall?
Clean, deal with loose material and repair the surface before applying paint. The amount of preparation depends on wall condition, not your chosen colour.
Cleaning and repairs
Protect the floor and surfaces that will not be painted. Clean the wall using a method suitable for the surface and follow the cleaning product instructions. Remove loose paint and repair holes or unevenness before further treatment.
Anza’s step-by-step wall painting guide describes checking for loose paint, repairs and sanding once filler has dried. If the whole surface needs smoothing, distinguish that from local repairs when planning filling and smoothing before painting.
When is priming needed?
Priming depends on the surface and paint system. Absorbent or untreated surfaces may need a primer intended for them; a previously painted wall may have different requirements. Flügger explains this in its advice on priming interior walls.
Check how filled areas should be treated too. Do not assume the same instructions apply to an old painted wall, retained wallpaper and a fully skim-coated surface.
How do you paint a wall step by step?
Work from the edges towards the larger wall area and keep the work continuous on each wall. Prepare tools and materials so you can move from brush to roller without unnecessary interruptions.
Paint edges and corners
Use a brush where the large roller cannot reach. A small roller can then help produce a similar texture near the edge. Anza’s instructions for edges and corners include both tools in the working sequence.
Roll the surface and observe the product’s drying time
Continue across the wall while the adjoining paint is still wet. Work on one wall at a time and follow the paint’s recommended coverage. Anza advises using enough paint that the roller does not need pressing hard against the wall, without allowing the paint to run.
Let the treatment dry according to the product instructions before the next coat. Check both coverage and surface condition. A general guide cannot determine drying time or the number of coats for every product and surface.
How do you avoid streaks and uneven coverage?
Plan continuous working areas and avoid reworking paint that has already started drying. In its wall painting advice Beckers says back-rolling must be done while the paint is wet; otherwise, the result may be streaky or patchy.
Do not treat every visible difference as the same fault. Consider whether it concerns coverage, roller texture, visible repairs or an uneven wall. The choice between more preparation and additional painting must address the actual cause.
Check the result once the paint has dried as instructed and in the lighting the wall will be used in. If the cause is unclear, ask for advice before buying more paint or continuing treatment.
When does it make sense to hire a painter?
Get help when you want the preparation assessed or to hand over the whole painting job. Describe which walls are included, the existing surface, any damage and whether the ceiling is also to be painted.
NLL Måleri carries out interior painting in north-west Skåne. Ask for a clear breakdown of preparation, painting and materials so you know what the quote covers. Do not assume preparation and treatment of damaged surfaces are included without assessment.
You can find what the labour price covers on the page about interior painting prices. Use the price calculator for an initial estimate with the correct area. Request a quote for your room when you want the scope and price assessed.